
Blog
Kitchen Backsplash Installation for Older Homes in Doylestown, PA: What Owners Should Know
Planning kitchen backsplash installation in Doylestown, PA? If your home is on the older side, the wall behind your counters matters as much as the tile you pick. Old walls can be uneven, patched, or layered with past repairs, and a great tile job starts with fixing that first.
This guide explains what homes of that age usually need, how a pro does the work, and how to avoid common mistakes. You can also see our full kitchen backsplash installation service for the details of how we work.
Kitchen Backsplash Installation Doylestown PA: What Older Homes Need
According to U.S. Census Bureau data (American Community Survey 5-year estimates), half of the homes in Doylestown Township were built in 1979 or earlier. The median year built is 1979. That means many kitchens here have walls, wiring, and finishes that have seen decades of use.
The same data shows that about 80% of households in Doylestown Township own their home. Owners tend to update a kitchen with the long term in mind, so a backsplash that lasts matters more than a quick cover-up.
What a home of that age often has behind the tile
- Walls that are not flat. Years of settling and past patching leave dips and bumps. Tile shows every one of them.
- Old paint and wallpaper glue. Glossy paint and leftover adhesive can keep new tile adhesive from bonding.
- Outlets set for a thinner wall. New tile adds thickness, so boxes and covers often need to be adjusted.
- Old backsplash layers. Some kitchens already have a dated tile, paneling, or mirror that must come off first.
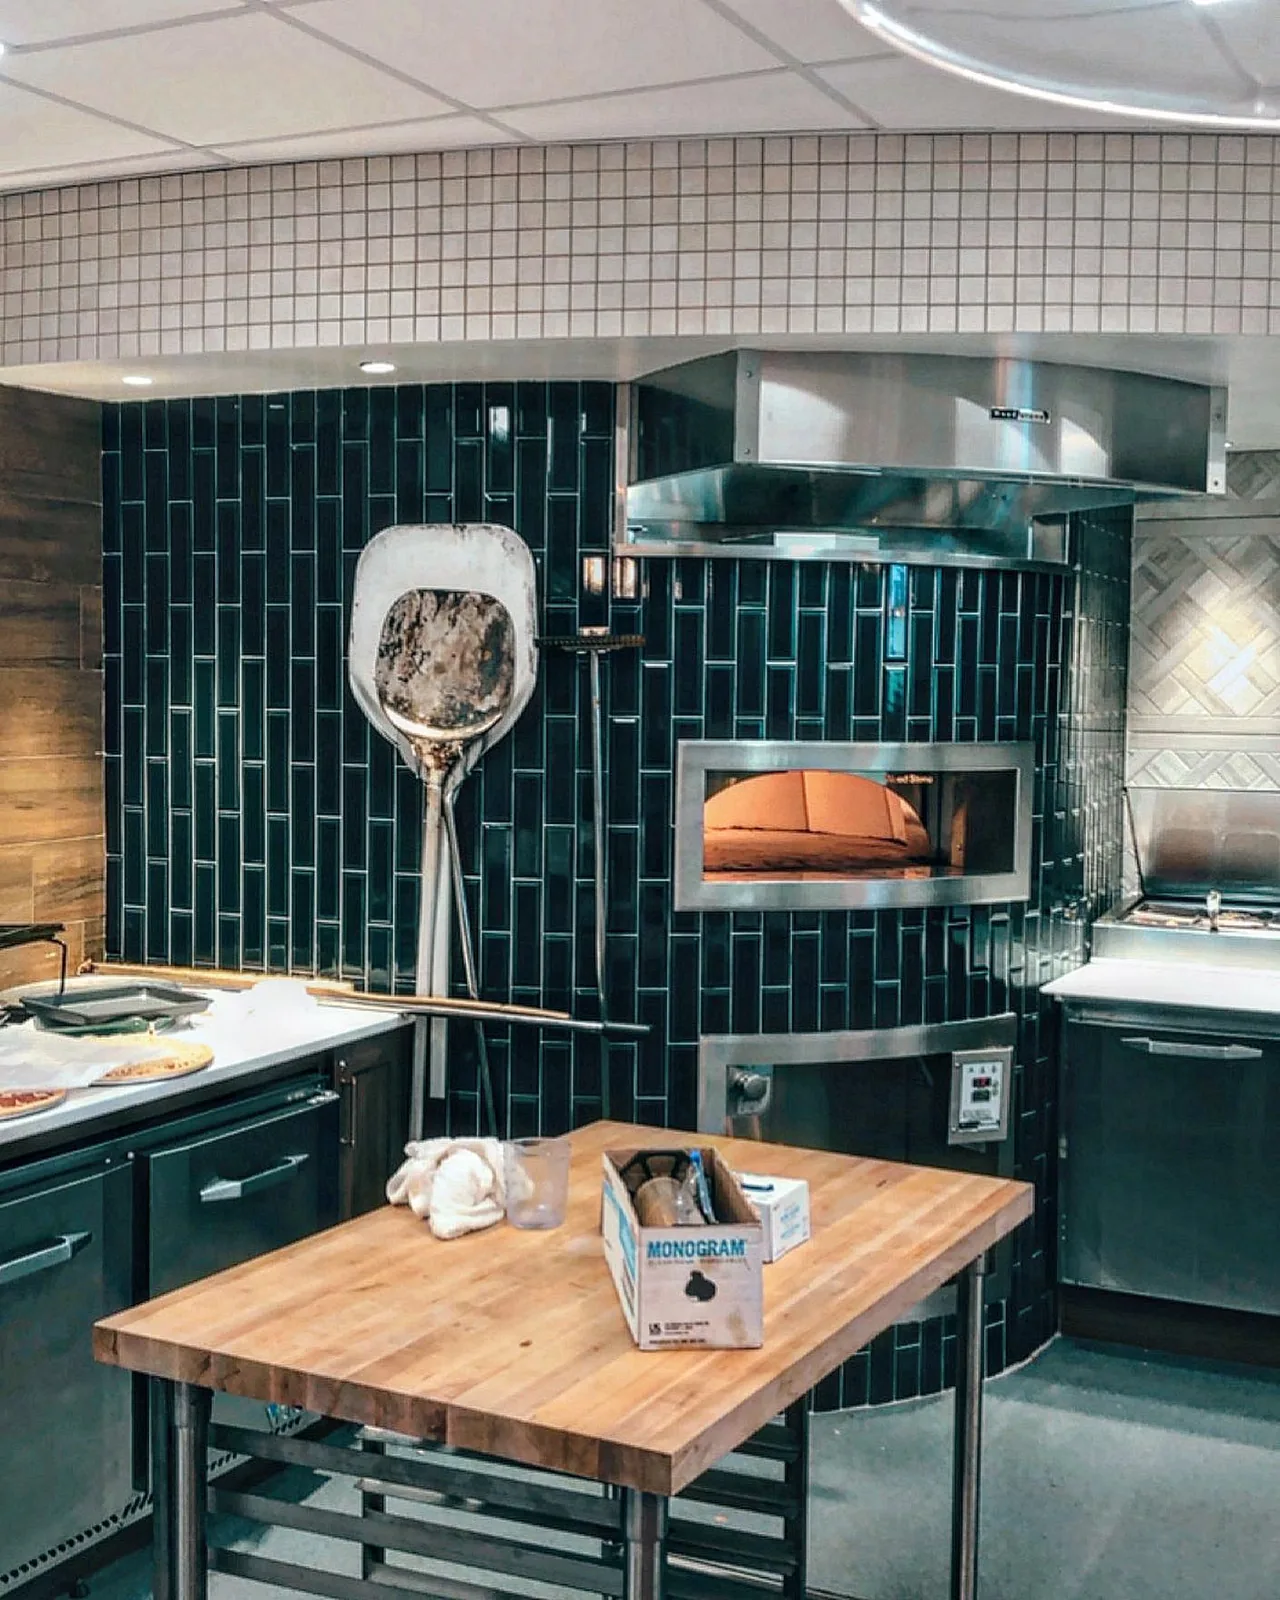
None of this is a problem for an experienced crew. It simply means the prep step is where the quality of the job is won. If you want to see the finished look, browse our tile installation portfolio for real projects.
How the job is done, step by step
Knowing the process helps you compare quotes fairly and spot a rushed job. Here is how a careful backsplash install runs from start to finish.
1. Inspect and protect
We look at the wall, the counters, and the outlets. Then we cover counters, floors, and appliances so dust and adhesive stay where they belong.
2. Remove what is in the way
Old tile, loose paint, and leftover glue come off. If the drywall paper is torn, it gets repaired or replaced, because tile cannot hold onto a damaged surface.
3. Flatten and prime
Low spots are filled and high spots are smoothed. A primer then gives the adhesive something solid to grip. This step is the biggest fix for older, wavy walls.
4. Layout before setting
The layout is planned from the focal point, often the range, so cuts look balanced at the edges. This avoids a thin sliver of tile in the most visible corner.
5. Set, grout, and seal
Tile is set with the right adhesive, spaced evenly, and left to cure. Grout goes in after that, and joints at counters and corners get flexible caulk so small movement does not crack them.
Choosing tile and layout for an older kitchen
The best material depends on how you cook and how much cleaning you want to do. These are the common options and when each one fits.
Ceramic and porcelain
Both handle heat and splashes well and wipe clean with little effort. Porcelain is denser, so it is a strong pick behind a busy range.
Glass and mosaic
Glass adds light to a small or darker kitchen. Mosaic sheets work well around curves and niches, though the extra grout lines need more sealing and cleaning.
Natural stone
Stone looks rich but needs sealing on a regular schedule. It suits owners who like the character and accept a little upkeep.
Where the tile should end
Many homeowners ask if the tile should wrap side walls. If the side wall is exposed to cooking or sink splash, carrying the tile onto it looks finished and protects the wall. If it is a short, dry return, a clean stop with a trim edge can work well.
DIY, peel-and-stick, or a pro?
Many people search for how to install a backsplash tile themselves, and some projects are fine for DIY. The honest answer depends on your wall and your patience.
When DIY can work
A small, flat wall with a simple pattern and no tricky outlets is a reasonable first project. Peel-and-stick tiles are the easiest route: clean and dry the wall, start from a level line, and press each piece firmly in place.
When a pro is the safer call
- The wall is wavy, patched, or has old paint and glue.
- You want natural stone, glass, or small mosaic tile.
- There are many outlets, windows, or tight corners to cut around.
- You want the work done fast with a clean result and no repair later.
Big box stores often arrange installation through partner contractors, so ask who actually does the work, what prep is included, and who stands behind it. When you hire us directly, you deal with the crew doing the job.
Planning around the calendar
Google search data shows that searches for kitchen backsplash installation in Pennsylvania peak in February, at about 170 per month, and drop to about 50 per month in June (Google Keyword Planner, last 12 months). Interest builds in the colder months, so booking early in the season helps you get your preferred start date.
Common questions about cost
Price depends on wall condition, tile type, layout, and size. Because every kitchen is different, we do not quote numbers in an article. We come to your home, look at the wall, and give you a clear estimate for your project.
Why local, in-home service matters in Doylestown
A photo cannot show a wavy wall or a loose outlet box. That is why we come to you for an in-home look before any work starts. We are fully insured, and we explain what we find in plain words.
Learn more about our work on our kitchen backsplash installation in Doylestown page, or see the other areas we cover on our service areas page.
What to do before we arrive
- Clear the counters near the backsplash wall.
- Decide if you want to keep or replace outlet covers.
- Collect a few tile ideas or photos you like.
- Note any spots where water or grease has stained the wall.
For trusted industry guidance on tile setting methods, the Tile Council of North America publishes the handbook that many installers follow.
FAQ
Common backsplash questions from homeowners in Doylestown and nearby areas.
Do you put backsplash directly on drywall?
Yes, tile can go on drywall if the surface is clean, flat, primed, and in good condition. Torn paper, moisture damage, or glossy paint should be fixed first so the adhesive can bond well.
How do I install a kitchen backsplash?
Clean and prep the wall, plan the layout from the center, set the tile with the right adhesive, then grout and seal the joints. Prep and layout decide most of the result, so take your time on those two steps.
How many hours does it take to install a kitchen backsplash?
Most kitchens take one to two days, plus cure time before grouting and sealing. Older walls that need repair, or detailed patterns, can add time.
Should backsplash go on side walls?
Often yes, if the side wall is exposed to splashes from the sink or range. Carrying the tile onto it protects the wall and gives a finished look.
What is the rule of thumb for backsplash?
A common guideline is to run the tile from the countertop up to the bottom of the wall cabinets, and higher behind the range or to the ceiling for a bolder look. Keep the layout balanced and avoid thin cut pieces at visible edges.
How do I install a backsplash tile myself?
Start with a clean, flat wall, mark a level line, and set tile from the center out using spacers. Peel-and-stick tiles are the easiest DIY option, while stone, glass, and mosaic usually go better with a professional.
Related Posts and Services
- Kitchen Backsplash Installation
- Choosing the best tile for your kitchen backsplash
- Tile flooring and wall installation
- Tile services in Doylestown
- Our tile portfolio
Ready to update your kitchen?
If you are planning kitchen backsplash installation in Doylestown, PA, we will come to your home, check the wall, and give you a clear plan. Request your free estimate and let us handle the details.
Prefer to call? +1 (877) 362-5191